Proper preparation is essential for a professional-looking, long-lasting finish when considering interior painting Weaverville. Whether you plan to tackle the project yourself or hire a professional, preparing your home will make all the difference. Here’s a comprehensive guide to help you prepare your home for a painting project.
1. Evaluate the Condition of Your Walls
Before you start your interior painting project, assess the condition of your walls. This will ensure that your paint job lasts longer and looks flawless.
-
Check for Cracks and Holes: Fill in any small holes or cracks with spackle or wall filler. You may need to apply a skim coat or sand the wall smooth for larger imperfections.
-
Look for Stains or Water Damage: Clean any stains with a mildew cleaner and apply a stain-blocking primer if necessary. This prevents the stains from seeping through the new paint.
2. Choose the Right Paint for Your Space
Choosing the right paint is vital to the success of your interior painting project in Weaverville. The type of paint you select affects your space’s texture, durability, and overall look.
-
Paint Finish: Different finishes serve different purposes:
-
Matte Finish hides imperfections and works well for low-traffic areas.
-
The Satin Finish provides a subtle sheen and is ideal for living rooms and bedrooms.
-
Gloss Finish is best for kitchens and bathrooms where frequent cleaning is necessary.
-
-
Color Selection: Lighter shades can make a room feel larger, while darker hues add warmth. When selecting your colors, consider the natural light in the room.
-
Eco-Friendly Paints: Low-VOC or no-VOC paints are better for the environment and your health. They release fewer chemicals into the air, making them a good choice for indoor spaces.
3. Clear the Space and Move Furniture
Clearing the room is one of the most critical steps in preparing for interior painting Weaverville. Removing furniture and valuables ensures they are protected from paint splatters.
-
Move Large Furniture: If possible, remove large items from the room. If that’s not feasible, push them to the center of the room and cover them with plastic sheets or drop cloths.
-
Cover Smaller Items: Smaller objects can be moved to another room or covered with plastic.
-
Protect the Floors: Lay down drop cloths or plastic sheeting to cover your floors. This helps protect them from paint spills or drips.
4. Prepare the Walls and Surface Areas
Surface preparation is key to achieving a flawless finish. The paint may not adhere properly if the walls aren’t smooth or clean.
-
Clean the Walls: Dust, grease, and dirt can interfere with paint adhesion. Clean the walls before painting with a mild soap and water solution. Use a degreaser for stubborn grease spots.
-
Sanding: If the walls have a glossy finish, lightly sand them to improve paint adhesion. You don’t need to sand every wall, but focus on areas that might affect the new paint’s bond.
-
Repairing Imperfections: Fill any holes, dents, or cracks with spackle and smooth them out once they dry. This will ensure a smooth and even surface for the new paint.
5. Tape and Protect Trim and Fixtures
Protecting trim, light fixtures, and other areas from accidental paint splatters is essential for a clean, professional look.
-
Painter’s Tape: Use painter’s tape around trim, windows, doors, and baseboards. This will help you achieve clean, sharp lines and prevent paint from getting on areas you don’t want to paint.
-
Cover Fixtures: Painter’s tape or plastic should be used to cover light switches, outlets, and door handles to prevent paint drips.
-
Remove Fixtures: If possible, remove light switch covers, outlet plates, and other fixtures to avoid any paint interference.
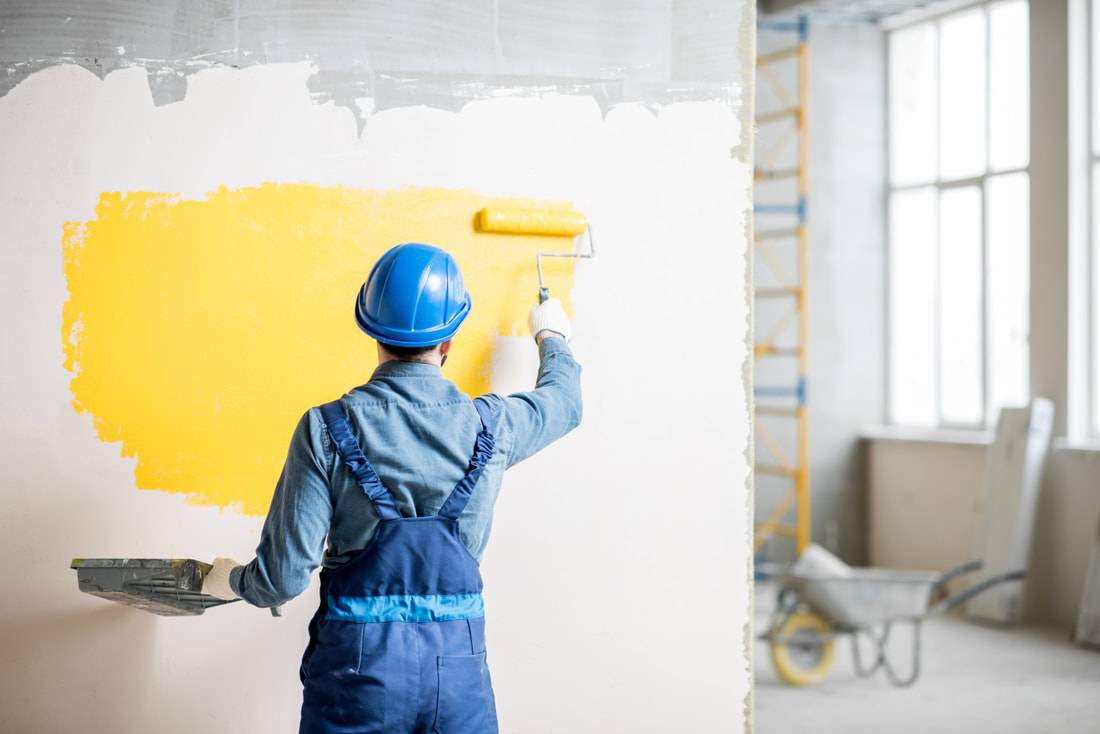
6. Consider Professional Help for a Quality Finish
While DIY interior painting can save money, there are advantages to hiring professionals, especially for large or complicated projects.
-
Expertise: Professional painters know the best techniques for achieving a smooth, even finish. They also have the necessary experience to handle challenging areas like ceilings and trim.
-
Time-Saving: Hiring a professional can save you time. They can complete the job faster and more efficiently, allowing you to focus on other tasks.
-
Durability: Professionals are skilled at applying multiple coats and ensuring that the paint job lasts for years. Their expertise ensures that you won’t have to touch up areas later.
7. Plan for Ventilation and Drying Time
Ventilation is essential for drying time and overall comfort. Humidity can influence interior painting Weaverville, so ensure proper ventilation.
-
Ventilation: Open windows and use fans to ensure good airflow. This helps the paint dry faster and reduces the buildup of fumes.
-
Drying Time: Let each coat dry completely before applying the next one. Be patient, as drying times can vary depending on the type of paint used and the humidity level in your home.
-
Wait Before Using the Room: Before moving furniture back into the room, allow at least 24 hours for the paint to dry and settle.
8. Final Touches and Clean-Up
Once the painting is done, there are a few final steps to complete your project.
-
Touch-Up Areas: Inspect the room for any spots that need touch-ups. Use a small brush to fix these areas for a flawless finish.
-
Clean Brushes and Equipment: Clean your brushes and rollers immediately to prevent paint from drying. This will keep them in good condition for future use.
-
Reassemble the Room: Remove the painter’s tape and return the furniture once the paint has dried completely.
Conclusion
Preparing your home for interior painting Weaverville is essential to ensuring a beautiful, durable result. By evaluating your walls, selecting the right paint, and protecting your furniture and fixtures, you can set yourself up for success.
Whether you paint the interior yourself or hire a professional, these preparation tips will help your project go smoothly and result in a stunning transformation.