In an age where sustainability is more important than ever, many people are looking for eco-friendly alternatives to everyday products. One such product is wax paper food wraps, which provide a reusable, biodegradable option for food storage. This guide will help you understand how to make your own wax paper food wraps, explore their benefits, and offer tips for using and maintaining them.
What Are Wax Paper Food Wraps?
Wax paper food wraps are made by infusing fabric, typically cotton, with a blend of beeswax, resin, and jojoba oil. This combination creates a water-resistant barrier that keeps food fresh while allowing it to breathe. Unlike plastic wraps, wax paper wraps can be reused multiple times, making them a sustainable choice for food storage.
Benefits of Using Wax Paper Food Wraps
Eco-Friendly
One of the primary reasons to switch to wax paper food wraps is their environmental impact. Traditional plastic wraps contribute significantly to plastic waste, which takes hundreds of years to decompose. In contrast, wax paper wraps are biodegradable and can be composted at the end of their life cycle.
Reusable
Wax paper food wraps can last for up to a year with proper care. This reusability reduces the need for single-use plastics, helping you minimize your environmental footprint. Simply wash, dry, and store them for future use.
Versatile
These wraps can be used for various purposes, including covering bowls, wrapping sandwiches, storing fruits and vegetables, and even packing snacks for on-the-go. Their versatility makes them a valuable addition to any kitchen.
Safe for Food
The materials used in making wax paper wraps are safe for food contact. Beeswax, for instance, is a natural product that has antibacterial properties. This means your food stays fresh without the risk of harmful chemicals leaching into it.
How to Make Your Own Wax Paper Food Wraps
Creating your own wax paper food wraps is a straightforward process that requires only a few materials. Here’s a step-by-step guide to help you get started:
Materials Needed
-
Cotton fabric: You can use old cotton shirts, kitchen towels, or any other fabric. Avoid fabrics with synthetic fibers.
-
Beeswax: Available at craft stores or online, beeswax gives the wraps their waterproof properties.
-
Resin: This helps the wraps maintain their shape and increases durability. Pine resin is commonly used.
-
Jojoba oil: This oil adds flexibility and makes the wraps easier to mold around food items.
Step-by-Step Instructions
-
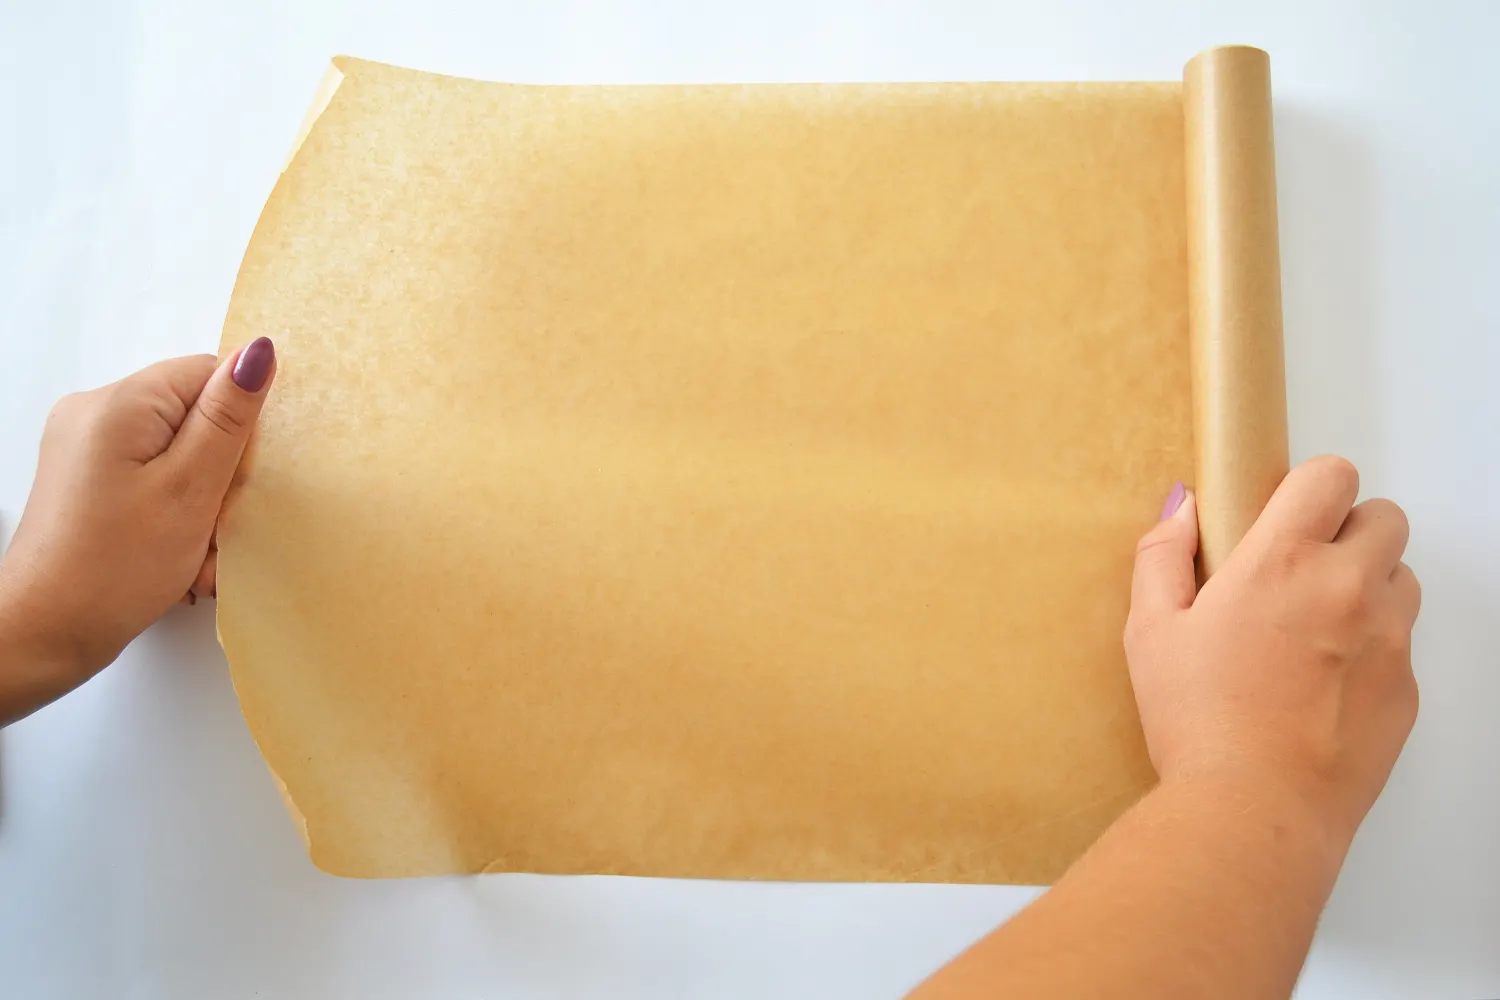
Prepare Your Fabric: Cut the cotton fabric into desired sizes. Common sizes include 8×8 inches for snack wraps, 12×12 inches for sandwich wraps, and larger pieces for covering bowls.
-
Create the Wax Mixture: In a double boiler, melt equal parts of beeswax and resin, adding a small amount of jojoba oil. Stir the mixture until fully melted and combined.
-
Apply the Mixture: Once the mixture is ready, lay the fabric on a baking sheet lined with parchment paper. Use a brush to evenly apply the wax mixture over the fabric. Ensure full coverage, but avoid over-soaking.
-
Heat to Set: Preheat your oven to about 200°F (93°C). Place the baking sheet in the oven for a few minutes until the wax is melted and absorbed by the fabric.
-
Cool and Store: Remove the fabric from the oven and let it cool. Once cooled, your wax paper food wraps are ready to use! Store them flat in a drawer or hang them for easy access.
Tips for Using Wax Paper Food Wraps
Molding the Wraps
To use your wax paper wraps effectively, simply warm them in your hands for a few seconds. This will make the wax more pliable, allowing you to mold it around food items or bowls easily.
Cleaning and Maintenance
To maintain your wax paper wraps, wash them gently with cold water and mild soap. Avoid hot water and the dishwasher, as they can damage the wax coating. After washing, hang them to dry, and store them in a cool place.
Lifespan
With proper care, your wax paper wraps can last up to a year. When they start to lose their stickiness or become worn, you can refresh them by applying a new layer of the wax mixture.
Common Uses for Wax Paper Food Wraps
Storing Leftovers
Wax paper wraps are perfect for covering leftovers. They allow food to breathe, preventing moisture buildup and keeping your food fresh longer.
Packing Lunches
Use wax paper wraps to pack sandwiches, fruits, and snacks for lunch. They’re a great alternative to plastic bags and add a touch of charm to your lunchbox.
Wrapping Cheese
Cheese can benefit from being wrapped in wax paper. The wraps allow the cheese to breathe while keeping it protected from drying out.
Covering Bowls
Instead of using plastic wrap, cover bowls with wax paper wraps. They create a seal that keeps food fresh and are easy to remove.
Challenges and Considerations
While wax paper food wraps are an excellent sustainable option, there are a few challenges to consider:
Temperature Sensitivity
Wax paper wraps should not be used in the microwave or oven, as high temperatures can melt the wax. Use them for cold or room-temperature foods only.
Not for Meat or Fish
It’s advisable to avoid using wax paper wraps for raw meat or fish, as they might not provide a sufficient barrier against bacteria. Instead, use them for fruits, vegetables, baked goods, and other non-perishable items.
Conclusion
DIY wax paper food wraps are a sustainable, versatile, and eco-friendly alternative to traditional plastic wraps. By making your own, you can reduce waste and enjoy a practical solution for food storage. With a little effort and creativity, you can contribute to a more sustainable lifestyle while keeping your food fresh and delicious. So, gather your materials, get crafty, and embrace the eco-friendly benefits of wax paper food wraps!